Step 10: Deliver Your Theme
We're done with the customizations and we've taken the screenshot, so now it's time to package up the theme so other Weeblies can use it.
- If you're not in the Code Editor, from the Theme tab, click Edit HTML/CSS.
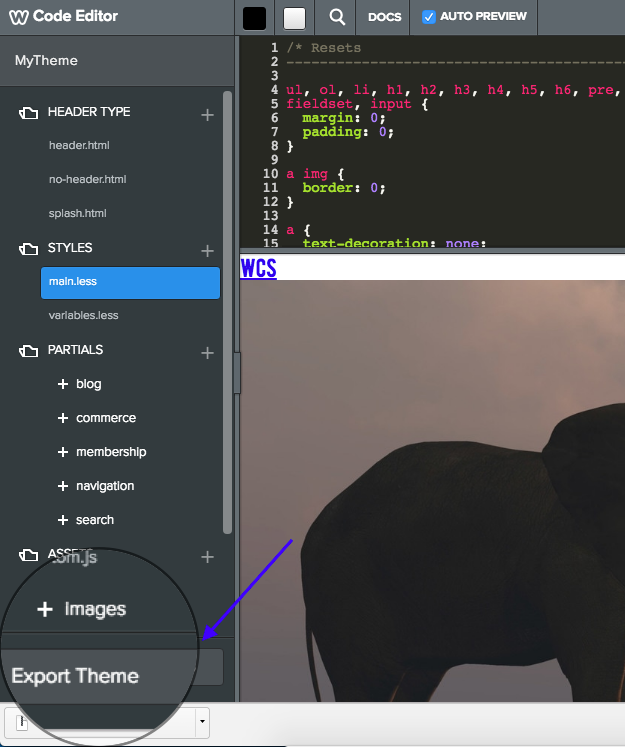
- At the bottom left, click Export Theme.
3. Save the zip file to a local directory.
4. Move the screenshot taken in Step 9 into the root of the theme's directory. It should be at the same level as the manifest file.
5. Select all the contents of the directory and zip it up.
Note: Be sure to zip up the contents of the directory, and not the directory itself.
Now let's make our theme available to the Theme Gallery using the Cloud Admin.
- Open the Cloud Admin, click the Themes tab.
- Click Create New Theme.
- Enter My Theme for theme name.
- Click Upload Theme Zip. Navigate to the directory where you exported your theme and upload your theme's zip.
- Click Create Theme.
Your new theme displays in the Cloud Admin using the screenshot you created in the previous step. You can delete the theme by clicking the Manage link.
What Just Happened?
You exported your customized theme and added the screenshot. You then used the Cloud Admin to upload it to the Weebly Theme Gallery, where any user can choose it.
You exported your customized theme and added the screenshot. You then used the Cloud Admin to upload it to the Weebly Theme Gallery, where any user can choose it.
